
Ever stepped into a room and thought, “Wow, this floor is gorgeous!” only to find out it’s luxury vinyl flooring—affordable, tough, and totally DIY-able? Whether you’re sprucing up your kitchen or revamping an office, laying luxury vinyl can feel like a big leap without a clear plan. How do you lay luxury vinyl flooring? Lay luxury vinyl by prepping the subfloor, acclimating planks for 48 hours, measuring and cutting accurately, and installing with click-lock or glue-down methods for a pro-level finish. This guide’s got your back with every step, tip, and trick to make your floor pop. Picture this: a single mom in Portland turned her dingy basement into a cozy playroom with luxury vinyl, all on her own, saving a bundle. Ready to be your own flooring hero? Let’s jump in!
What Is Luxury Vinyl Flooring and Why Choose It?
Luxury vinyl flooring (LVT, SPC, or WPC) is a waterproof, stylish, and durable floor that looks like wood or stone but costs less. It’s the MVP of flooring—easy to install and built to last.
Why Luxury Vinyl Is Your BFF
The Three Flavors of Luxury Vinyl
- LVT (Luxury Vinyl Tile/Plank): Flexible, often glued down, perfect for intricate patterns like herringbone.
- SPC (Stone Plastic Composite): Rigid, click-lock system, super stable even in humid spots (our factory’s pride and joy!).
- WPC (Wood Plastic Composite): Thicker, softer feel, great for cozy vibes.
Why Everyone’s Obsessed
Luxury vinyl is 100% waterproof, shrugs off scratches, and comes in tons of looks—rustic oak, sleek marble, you name it. It’s comfier than tile and way easier to install than hardwood. A 2024 report said 70% of homeowners picked vinyl for its price ($2-7/sq.ft. vs. $8-15 for hardwood) and low upkeep.
Real-Life Magic
A small bakery in Nashville swapped out their cracked tiles for SPC luxury vinyl. The install took one weekend, and customers kept raving about the warm, wood-like vibe. Plus, spills? No problem—just wipe and go.
How It Stacks Up
| Feature | Luxury Vinyl | Hardwood | Ceramic Tile |
|---|---|---|---|
| Cost/sq.ft. | $2-7 | $8-15 | $5-12 |
| Waterproof | Yes | No | Yes |
| Install Time | 4-8 hrs | 1-2 days | 1-3 days |
| Maintenance | Low | High | Moderate |
Critical Insight: Luxury vinyl’s a dream, but not all brands deliver. Cheap LVT might fade or peel, while premium SPC (like ours, with a 20mil wear layer) stands up to kids, pets, and parties. Check specs for thickness (4mm+) and durability.
What Tools and Materials Are Needed to Lay Luxury Vinyl Flooring?
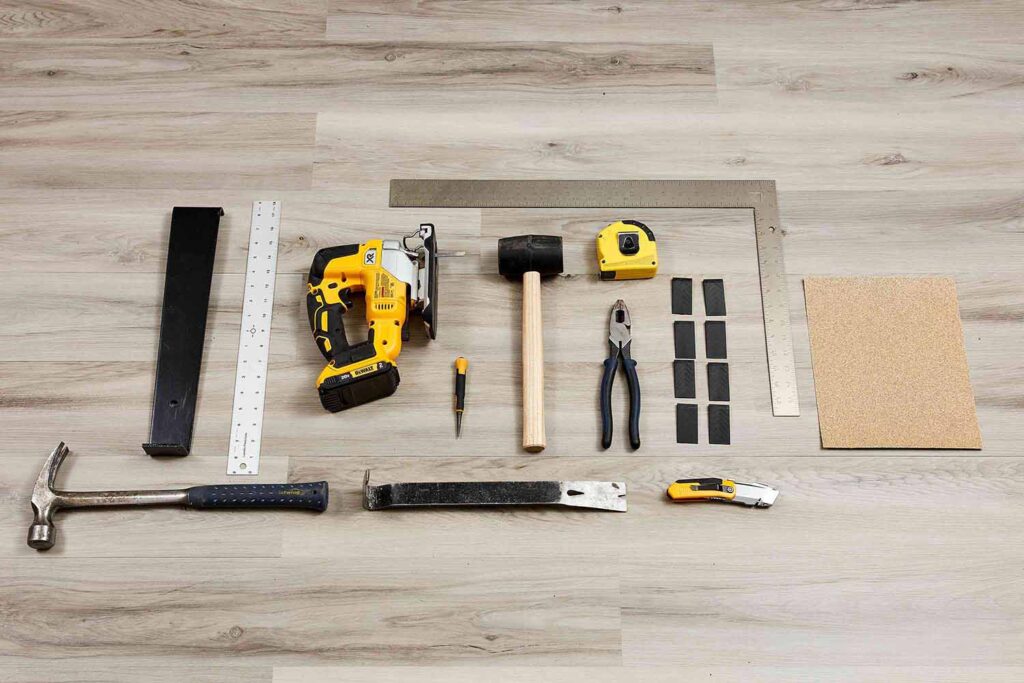
Grab a tape measure, utility knife, level, spacers, underlayment, and your vinyl planks for a smooth install. The right stuff makes all the difference.
Your Flooring Toolbox
Tools You’ll Need
- Tape Measure: For spot-on room measurements.
- Utility Knife: Slices planks like butter (stock up on blades—$5 for 10).
- 4-Foot Level: Checks if your subfloor’s flat.
- Spacers: Keeps 1/8-inch gaps around walls for expansion.
- Tapping Block & Rubber Mallet: Snaps click-lock planks together.
- Square: Ensures straight cuts.
- Jigsaw: Handy for curved cuts (e.g., around doorframes).
Materials Checklist
- Luxury Vinyl Planks/Tiles: Order enough to cover your space + 10% extra.
- Underlayment: Often built into SPC; separate foam or cork for LVT.
- Adhesive: Needed for glue-down LVT (about $30/gallon).
- Cleaning Kit: Mild cleaner for post-install sparkle.
- Transition Strips: T-moldings for doorways or room changes.
Calculating Flooring Needs
Measure your room (length x width = square footage). Add 10% for waste or mistakes. For a 250 sq.ft. living room, get 275 sq.ft. of vinyl. Pro tip: mix planks from different boxes for a natural look.
| Item | Purpose | Approx. Cost |
|---|---|---|
| Tape Measure | Measuring rooms | $10-15 |
| Utility Knife | Cutting planks | $10-20 |
| Underlayment | Noise reduction | $0.50/sq.ft. |
| Spacers (50-pack) | Expansion gaps | $5-10 |
| Adhesive (gallon) | Glue-down install | $30-40 |
Critical Insight: Don’t skimp on tools—a cheap knife or no spacers can wreck your floor. Spend $50 on quality gear to save headaches and cash down the road.
How Do You Prepare the Subfloor for Luxury Vinyl Flooring?
Level, clean, and dry your subfloor to set the stage for a perfect luxury vinyl install. A solid foundation prevents bumps or gaps.
Subfloor Prep Made Easy
Why Subfloor Prep Is Non-Negotiable
A wonky subfloor can make your vinyl buckle, gap, or click when you walk. Luxury vinyl needs a surface flat within 3/16 inch over 10 feet and free of moisture.
Step-by-Step Prep Guide
- Clear the Deck: Remove old carpet, tiles, or debris. Vacuum thoroughly.
- Check Flatness: Use a 4-foot level; mark high/low spots.
- Fix Unevenness: Sand high spots; fill dips with self-leveling compound ($20/bag).
- Test Moisture: For concrete, use a moisture meter (<4% is safe). Wood subfloors? Check for rot.
- Add Barriers: Lay a vapor barrier on concrete in humid areas (e.g., basements).
Subfloor Types
- Concrete: Must be smooth, dry, and crack-free. Seal cracks with caulk.
- Plywood: Secure loose boards; replace warped ones. Sand seams.
- Existing Tile: Okay if flat and grout lines are filled.
- Not Okay: Cushioned vinyl or floating floors—remove them.
Real-World Lesson
A renter in Orlando installed SPC over an uneven concrete subfloor and got wavy seams. They redid it with leveling compound and a vapor barrier—problem solved in a day.
| Subfloor Type | Prep Needed | Common Issues |
|---|---|---|
| Concrete | Level, seal | Moisture, cracks |
| Plywood | Secure, sand | Warping, squeaks |
| Tile | Fill grout | Loose tiles |
Critical Insight: Subfloor prep is 80% of a great install. Skip it, and you’re begging for trouble. Take a weekend to get it right, and your floor will thank you.
What Are the Steps to Lay Luxury Vinyl Flooring?
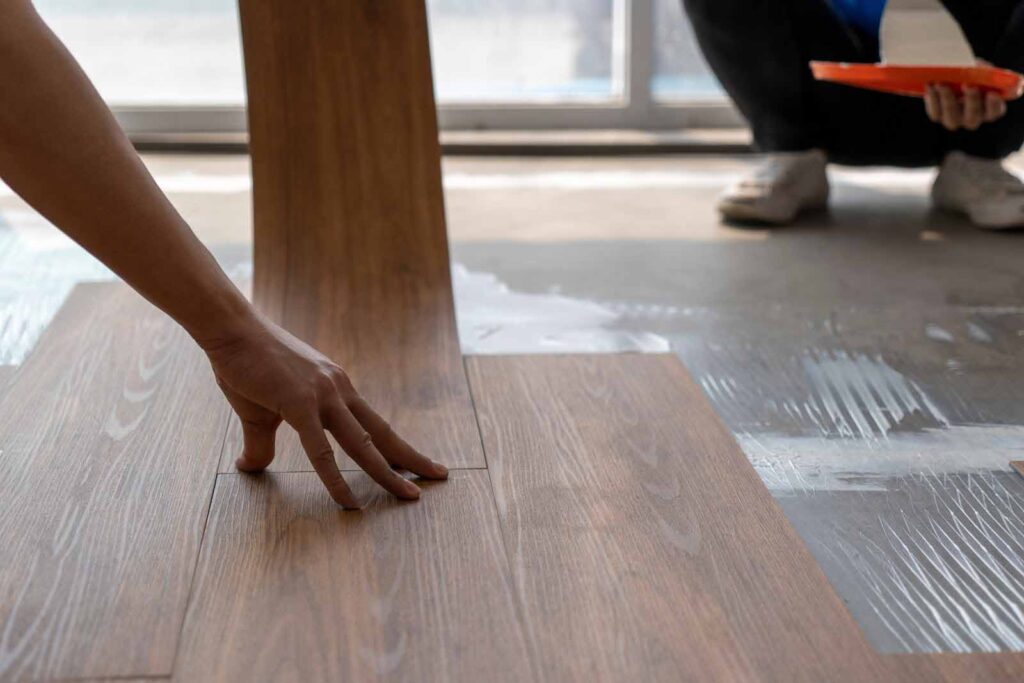
Acclimate planks for 48 hours, measure, cut precisely, and install using click-lock or glue-down methods for a flawless luxury vinyl floor. Patience is your friend.
Your Step-by-Step Install
Step 1: Acclimate the Flooring
Store vinyl in the room for 48 hours at 60-80°F and 35-65% humidity. This prevents shrinking or expanding later. A Dallas homeowner skipped this, and tiny gaps appeared after a month—don’t skip it!
Step 2: Plan Your Layout
- Start in the room’s longest, straightest wall.
- Stagger seams (like brickwork) for a natural look; avoid H-patterns.
- Dry-lay a few rows to test the design.
Step 3: Measure and Cut
- Measure twice with a tape and square.
- Score planks with a utility knife, then snap them.
- For curves (e.g., around pipes), use a jigsaw or hole saw.
- Number pieces for tight spots to stay organized.
Step 4: Install (Click-Lock SPC Example)
- First Row: Place 1/8-inch spacers along walls; click planks end-to-end.
- Subsequent Rows: Angle planks into the previous row’s groove; tap with a mallet.
- Cut Final Row: Trim to fit, keeping the expansion gap.
- Transitions: Add T-moldings or reducers at doorways.
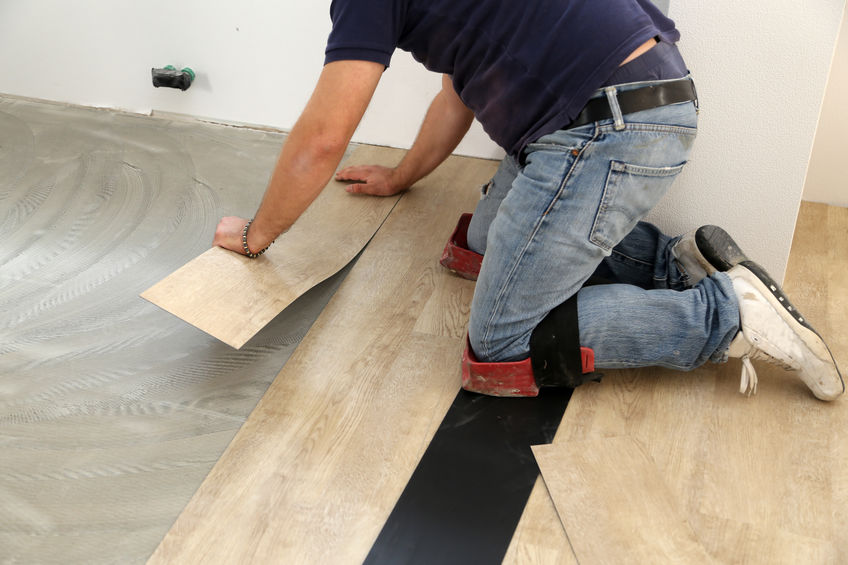
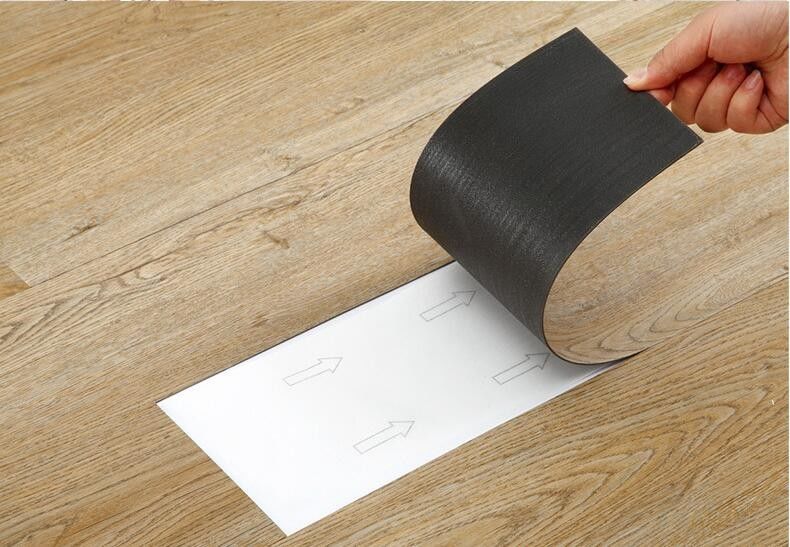
Glue-Down LVT Alternative
- Spread adhesive with a notched trowel (follow product specs).
- Lay tiles, pressing firmly; roll with a 100-lb. roller.
- A Miami spa used glue-down LVT for a seamless, high-end mosaic design.
Finishing Touches
- Remove spacers; install baseboards or quarter-round to cover gaps.
- Clean with a vinyl-safe cleaner (no soap residue!).
- Walk the floor to check for loose spots.
| Install Method | Time (250 sq.ft.) | Skill Level | Best Use |
|---|---|---|---|
| Click-Lock | 5-7 hours | Beginner | Homes, offices |
| Glue-Down | 8-10 hours | Intermediate | Custom patterns |
| Loose-Lay | 4-6 hours | Advanced | Rentals |
Critical Insight: Rushing cuts or forcing planks is a recipe for disaster. Take your time, double-check measurements, and your floor will look like a million bucks.
How Do You Maintain and Care for Luxury Vinyl Flooring After Installation?
Clean luxury vinyl with a damp mop and vinyl-safe cleaner; avoid harsh chemicals or standing water. Simple care keeps it dazzling.
Keeping Your Floor Fab
Everyday Cleaning
- Sweep/Vacuum: Daily to grab dirt (use a hard-floor vacuum setting).
- Mop Weekly: Damp mop with a cleaner like Bona or Rejuvenate ($10/bottle).
- Spills: Wipe ASAP with a soft cloth to avoid stains.
Damage Prevention
- Furniture Pads: Stick felt pads ($5/pack) under chairs and tables.
- Rugs: Place non-rubber-backed mats at entrances and sinks.
- UV Protection: Use blinds to block fading from direct sun.
Long-Term TLC
- Avoid steam mops—they can loosen adhesive or warp planks.
- Refresh with a vinyl polish every 2-3 years for extra shine.
- A daycare in Chicago used our SPC vinyl and mopped weekly. Six years in, it still looks fresh despite daily kid chaos.
| Do | Don’t |
|---|---|
| Use pH-neutral cleaners | Use bleach, ammonia, or wax |
| Wipe spills immediately | Let water sit or use steam mops |
| Add felt pads | Drag furniture |
Critical Insight: Less is more with vinyl. Overdoing it with harsh cleaners or water can dull or damage your floor. Stick to gentle, vinyl-approved products.
What Are Common Mistakes to Avoid When Laying Luxury Vinyl Flooring?
Dodge mistakes like skipping subfloor prep, rushing cuts, or ignoring acclimation for a perfect luxury vinyl install. Prep and care make it pro.
Don’t Trip Up
Mistake 1: Skimping on Subfloor Prep
An Atlanta office installed SPC over uneven plywood, leading to creaks and gaps. Leveling with compound ($25) would’ve saved a $600 redo.
Mistake 2: Skipping Acclimation
A 48-hour acclimation prevents movement. A Denver condo rushed their install, and planks shifted slightly in winter—annoying and avoidable.
Mistake 3: Sloppy Cuts
Crooked or tight cuts cause visible seams. A sharp blade and steady hand are key. Practice on scrap pieces first.
Mistake 4: Forgetting Expansion Gaps
No 1/8-inch gap? Your floor might buckle against walls. A Phoenix homeowner fixed this by trimming edges after noticing warping.
Mistake 5: Wrong Adhesive
Using the wrong glue for LVT can weaken bonds. A salon in Houston had lifting tiles until they switched to manufacturer-recommended adhesive.
Critical Insight: Most goofs come from hurrying or assuming “it’ll be fine.” Treat your install like a craft project—slow, steady, and precise wins.
Conclusion
Luxury vinyl flooring is your shortcut to a jaw-dropping, durable floor that’s easy to install and kind to your wallet. With proper prep, the right tools, and a bit of patience, you can lay it like a pro and enjoy a space that screams style. At Kinwin, we’re all about crafting eco-friendly, high-quality SPC luxury vinyl tailored to your vibe. Ready to level up your floors? Hit up Kinwin for a free quote or to design your custom flooring. Let’s make your space shine!