
Luxury Vinyl Tile (LVT) flooring has exploded in popularity for its budget-friendly cost, realistic designs, and impressive durability. Whether your LVT mimics warm hardwood planks or sleek marble tiles, maintaining it doesn’t have to be a chore—as long as you know the right methods. But how exactly do you keep LVT looking fresh and vibrant?
LVT flooring combines durability with a realistic wood or stone appearance. To clean it, sweep or vacuum daily to remove loose dirt, then follow up with a pH-neutral cleaner and a slightly damp mop. Avoid abrasive scrubbers, harsh chemicals, and excess water. This gentle routine extends LVT’s life and keeps it looking its best.
Imagine waking up, stepping onto your LVT floor, and feeling a smooth, dust-free surface underfoot—no grit, no stains, and no dull patches. Below, we’ll walk you through everything you need to know about cleaning LVT, covering daily upkeep, tackling tough spills, and even deciding whether to polish or seal. Get ready to protect your investment and enjoy a spotless floor every day!
I. Introduction: What Is LVT Flooring, and Is It Easy to Clean?
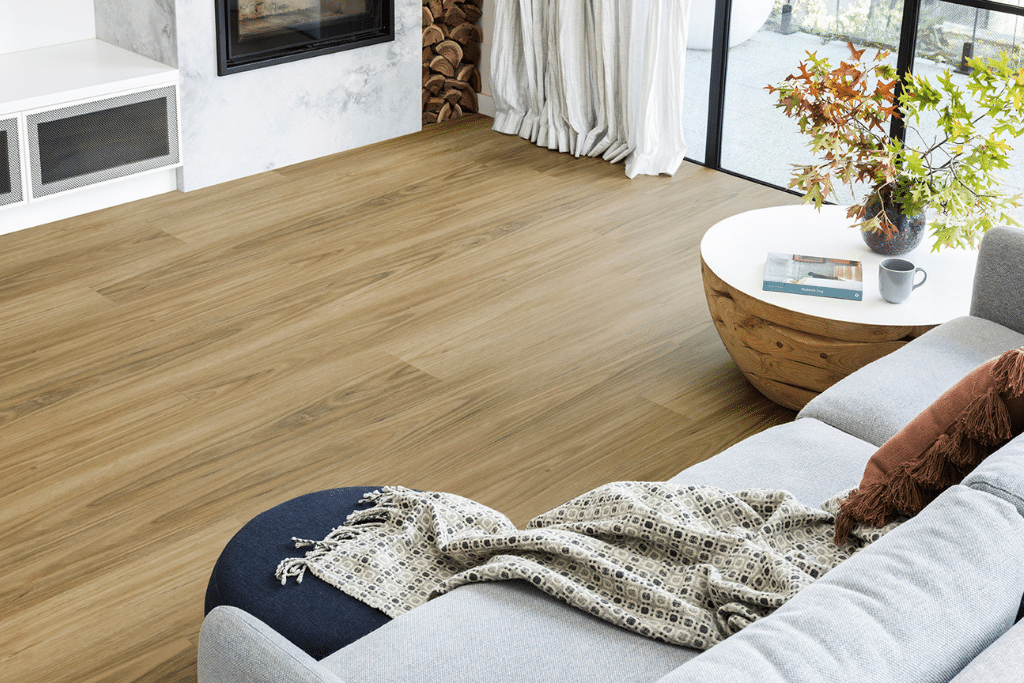
LVT (Luxury Vinyl Tile) is a multi-layered, synthetic flooring designed to mimic natural materials like wood or stone. Yes—LVT is generally easy to clean, needing only basic, consistent care to stay in great shape.
Exploring LVT’s Composition and Ease of Cleaning
- Layered Construction for Durability
- Protective Wear Layer: The topmost shield against scratches, scuffs, and light stains.
- Design Layer: Realistic prints or patterns that replicate hardwood grains, stone textures, or tile designs.
- Vinyl Core: Adds resilience, impact resistance, and water resistance.
- (Optional) Underlayment: Some LVT planks include an attached underlayment for sound insulation and extra comfort underfoot.
- Why LVT Is Considered Low-Maintenance
- Water Resistance: Spills on LVT are less of a crisis than on hardwood—just wipe them up quickly.
- Scratch Resistance: While not indestructible, LVT handles foot traffic, pet claws, and everyday wear better than many alternative floors.
- Common Cleaning Myths and Misconceptions
- “Vinyl Floors Look Cheap”: Modern printing technology makes high-quality LVT look remarkably similar to genuine wood or stone.
- “You Can Clean Vinyl with Anything”: Harsh chemicals or steam cleaners can still damage LVT’s wear layer or adhesive if used incorrectly.
- Typical LVT Lifespan
- LVT can last 10–20 years (or more) with proper installation and care, making it an attractive choice for both residential and commercial spaces.
- Everyday Cleaning Habits
- Because LVT repels a lot of the dirt and grime that stick to other surfaces, simple daily or weekly sweeps can keep it looking pristine.
Overall, LVT stands out for its blend of style and practicality. If you’re looking for a floor that doesn’t demand strict cleaning rituals (like solid hardwood might), LVT is a top contender.
II. Which Cleaning Tools and Products Are Best for LVT Floors?
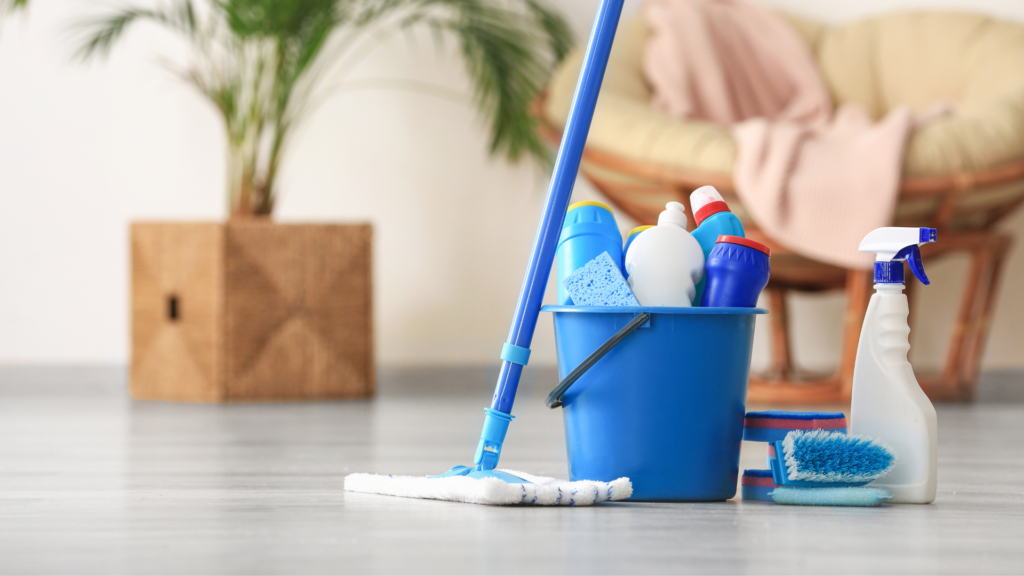
Use gentle tools—like a microfiber mop and a soft-bristle broom—plus a pH-neutral cleaner. Avoid harsh chemicals and abrasives to preserve the floor’s protective layer.
“What Is the Best Thing to Clean LVT Floors With?”
- Microfiber Mops vs. Traditional Mops
- Microfiber Mops: Traps dust efficiently and won’t scratch the surface. Great for regular upkeep.
- Traditional String/Loop Mops: Can work if well-wrung to avoid excess water, but may be less effective at capturing fine dust.
- Brooms and Vacuums
- Soft-Bristle Brooms: Perfect for quick cleanups. Hard bristles may leave scuff marks.
- Vacuum with Hard-Floor Setting: Ensure the beater bar is turned off or adjusted to avoid damaging the finish.
- pH-Neutral Cleaners
- Why pH-Neutral?: These cleaners won’t strip away the wear layer or leave behind soapy residue.
- Example: Many brands label their products “LVT-safe” or “vinyl floor cleaner.” Always check labels for compatibility.
- Avoiding Chemicals and Tools That Can Harm LVT
- No Bleach/Ammonia: These can discolor or weaken the protective layer.
- No Steam Cleaners: Excessive heat and moisture may penetrate seams or damage adhesives.
- No Steel Wool: This abrasive can scratch and dull your floor, making it more susceptible to stains.
- Practical Tips for Product Selection
- Check Manufacturer Guidelines: If your LVT is from a specific brand, follow their recommended products to protect your warranty.
- DIY Solutions: Diluted mild soap can be effective for routine cleaning, but do a test patch first to ensure no residue forms.
Below is a quick reference table for key tools and recommended usage:
| Tool/Product | Purpose | Usage Frequency |
|---|---|---|
| Microfiber Mop | Dust removal, light wet mopping | 2–3 times per week |
| Soft-Bristle Broom | Quick debris removal (pet hair, dirt) | Daily or as needed |
| Vacuum (Hard-Floor Mode) | Thorough dust and debris pickup without scratching | 1–2 times per week |
| pH-Neutral Cleaner | Gentle cleaning solution for deeper mopping | Weekly or bi-weekly |
| Mild Dish Soap + Water | Light soapy mixture for occasional grime removal | Weekly (small amounts) |
These basics ensure you’re well-equipped to handle everyday cleaning tasks without risking damage to your floor’s surface.
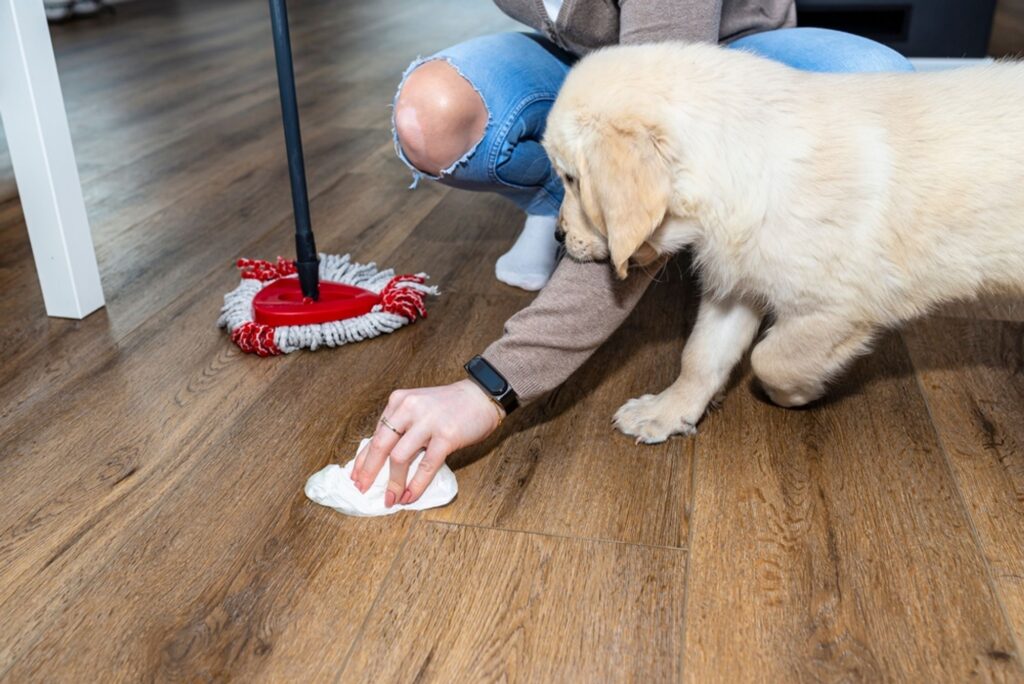
III. How to Perform Regular (Daily/Weekly) Cleaning for LVT Floors?
Sweep or vacuum to remove surface dirt, then use a damp (not soaked) microfiber mop with a pH-neutral cleaner. This routine prevents buildup and preserves your LVT’s finish.
The Step-by-Step Routine
- Daily Sweeping or Light Vacuuming
- Why Do It?: Grit can act like sandpaper, dulling the finish.
- Technique: Gently run a vacuum with its bristles retracted or use a soft broom to avoid scratches.
- Frequency: High-traffic homes (kids, pets) might sweep daily. Lower-traffic areas might manage every other day.
- Spot Cleaning Spills Quickly
- Immediate Action: If you spill coffee, juice, or oily sauces, wipe up ASAP to prevent staining.
- Simple Tools: A microfiber cloth or paper towel to dab spills (rather than rubbing them in).
- Why It Works: LVT’s water-resistant layer usually gives you a generous window before moisture seeps in, but being proactive reduces the chance of stubborn stains.
- Weekly (or Bi-Weekly) Mopping
- Mop Choice: Microfiber or soft mop head.
- Cleaner Selection: Use a pH-neutral solution, mixing according to the label—too much concentrate can leave a sticky residue.
- Method: Dampen, don’t drench, the mop. Excess water can still seep into edges or joints over time.
- Addressing Footprints and Smudges
- Technique: For footprints or smears, a quick spritz of LVT-safe cleaner on a microfiber cloth works wonders.
- Pro Tip: Sometimes plain warm water can remove light smudges, saving you from overusing cleaners.
- Maintaining a Consistent Schedule
- Why Consistency Matters: Regular cleaning prevents dirt from becoming embedded, lengthening the time between deep cleans.
- Life Example: If you have a busy household, plan a quick vacuum in the morning or at night—whatever fits your routine.
By dedicating just a few minutes each day (or even every other day) to basic cleaning, you’ll maintain that “fresh floor” appearance and cut down on the need for intensive scrubbing later.
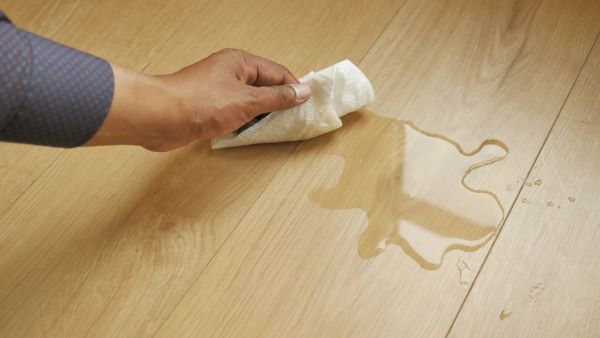
IV. What Are the Most Effective Methods to Remove Tough Stains and Spills?
Blot liquid spills immediately, then apply a mild, vinyl-safe cleaner. For tougher stains, gently scrub with a soft cloth and a pH-neutral solution—avoid aggressive rubbing or abrasive tools.
Battling Stubborn Spills and Stains
- Common Household Stains
- Grease and Oils: Whether it’s a kitchen mishap or a spill from cooking, start by wiping with a paper towel to remove excess grease. Follow up with warm soapy water or an LVT-approved degreaser.
- Wine, Coffee, and Juice: Blot up the liquid promptly. If a stain remains, use a mild cleaner or dish soap diluted in water. Rinse well.
- Pet Accidents: Remove solids, blot liquid, then use an enzymatic cleaner designed for floors to neutralize odors.
- Spot-Cleaning Technique
- Dab, Don’t Scrub: Vigorous scrubbing can grind residue deeper into the floor. Instead, blot and gently lift the stain.
- Pre-Testing: Whenever you try a new product, do a test on a small, hidden area first to ensure no discoloration.
- DIY Solutions vs. Specialized Cleaners
- Dish Soap Mix: A small drop of dish soap in warm water can handle everyday grime. Just be sure to rinse to avoid soap film.
- Baking Soda Paste: For really tough marks (like crayon or ground-in dirt), a little baking soda mixed with water can act as a gentle abrasive. Wipe thoroughly afterward to prevent residue.
- Commercial Vinyl Cleaners: Often more targeted and can be efficient for deeper stains, but always check for “safe for vinyl” on the label.
- Handling Stubborn Spots
- Let It Soak: Placing a damp cloth with cleaning solution on a stain for a few minutes can loosen it.
- Soft Bristle Brush: If you need a mild scrub, a soft toothbrush or gentle kitchen brush can work, but go easy to avoid scuffing.
- Proactive Measures
- Clean Spills Promptly: The longer a substance sits, the more likely it is to leave a permanent mark.
- Use Protective Mats: Particularly in kitchens and dining areas where spills are frequent, mats can save you from hassle.
Stain Removal Cheat Sheet
| Type of Spill | Initial Action | Suggested Cleaner | Final Step |
|---|---|---|---|
| Oil/Grease | Blot excess with towel | Mild dish soap + warm water | Rinse and dry |
| Red Wine/Coffee | Blot thoroughly | pH-neutral floor cleaner | Wipe with damp cloth, then dry |
| Pet Accident | Remove solids, blot liquid | Enzymatic cleaner | Rinse lightly, let air-dry |
| Ink/Marker | Dab with damp cloth | Specialized vinyl cleaner | Test first, blot gently |
| Sticky Residue | Scrape gently, dab residue | Warm water + mild soap | Clean thoroughly, wipe dry |
Following these guidelines helps you handle life’s little accidents without panicking.
V. Do You Need to Polish or Seal LVT Flooring?
Not usually. Most LVT comes with a built-in wear layer, meaning polishing or sealing is often unnecessary unless your floor’s top coat is noticeably worn or the manufacturer specifically recommends it.
Understanding LVT’s Finishes and Potential Extras
- Built-In Protective Wear Layer
- Why It’s Effective: Modern LVT is designed with a robust top layer, so you typically don’t need additional sealants.
- Manufacturer Guidance: Some LVT brands explicitly state in their warranty that extra finishing products might void coverage.
- When Polishing Might Help
- Heavy Traffic: In commercial settings or extremely busy households, a dedicated vinyl polish could restore some sheen if the original finish is wearing thin.
- Spot Repairs: Rather than polishing the entire floor, certain polishes or “refreshers” can address dull patches or scuff-heavy areas.
- Risks of Over-Polishing
- Build-Up: Layering polish over polish can create a cloudy, uneven film that’s harder to remove later.
- Slippery Surface: Some polishes increase slipperiness, posing a slip hazard.
- Sealing Older or Damaged Floors
- Rare Cases: If you inherit an older LVT floor that’s lost its wear layer, a sealant might temporarily protect it. Long-term, replacement might be more cost-effective.
- Professional Help: Deeply worn floors can require sanding or specialized restoration steps. Always check with a flooring expert if you’re unsure.
- Low-Maintenance Appeal
- One of LVT’s Perks: Many people choose LVT specifically because it doesn’t demand waxing or sealing, unlike hardwood.
- Focus on Routine Care: Sticking to proper cleaning (light mopping, immediate spill clean-up) usually keeps LVT in top condition without extra finishing steps.
In short, LVT is designed to be user-friendly. Unless there’s a specific need, skip the polish, follow daily cleaning best practices, and let that robust wear layer do its job.
VI. Can LVT Be Damaged by Water, and What Mistakes Should You Avoid?
Although LVT is highly water-resistant, prolonged standing water or frequent oversaturation can cause issues. Avoid steam cleaning and never leave large puddles to sit for too long.
“Can LVT Be Damaged by Water?”
- Water-Resistant vs. Waterproof
- Core Structure: Many LVT products are touted as water-resistant, meaning they can withstand normal spills or mopping without damage.
- Edge Vulnerabilities: The biggest risk is water seeping into seams or edges, especially over long periods.
- Common Mistakes with Moisture
- Soaked Mops
- Sopping wet mops can force water into plank seams.
- Solution: Always wring out your mop so it’s damp, not dripping.
- Steam Cleaners
- Intense heat and moisture may lift or warp vinyl layers.
- Solution: Stick to warm water or specialized LVT cleaning solutions.
- Ignoring Spills
- Even though LVT is forgiving, puddles left for days could seep underneath.
- Solution: A quick wipe is all you typically need.
- Soaked Mops
- Prevention Strategies
- Mats and Rugs: Placing mats near entrances or sinks helps catch water before it spreads.
- Check for Leaks: In bathrooms or basements, ensure no hidden water leaks are undermining your floor from below.
- Signs of Water Damage
- Lifting at Edges: If vinyl planks or tiles start curling, check for moisture infiltration.
- Discoloration: Although less common, long-term moisture can cause color shifts or a dull finish.
- Repairing After Water Issues
- Dry Out the Area: Use fans or dehumidifiers to remove trapped moisture.
- Replace Affected Planks: Click-lock LVT can sometimes be lifted and replaced without removing the entire floor. Glue-down versions can be trickier.
- Assess Subfloor: Prolonged water exposure might lead to mold or rot if it’s not addressed.
Quick Water-Damage Check Table
| Symptom | Possible Cause | Recommended Action |
|---|---|---|
| Curling/Peeling Edges | Excess moisture at seams | Dry area, replace planks if necessary, fix leaks |
| Bubbling/Buckling | Trapped water underneath | Remove damaged sections, inspect subfloor |
| Persistent Musty Smell | Mold under flooring | Lift planks, allow subfloor to dry, treat mold |
LVT is far from fragile when it comes to moisture, but a bit of caution goes a long way to avoid hidden damage.
VII. Conclusion: How Can You Keep LVT Floors Looking Brand New?
Maintaining LVT floors doesn’t require fancy equipment or professional-grade chemicals. A simple daily or weekly routine—think soft-bristle sweeping, prompt spill clean-ups, and periodic damp mopping with a pH-neutral cleaner—keeps your flooring in prime condition. Stubborn stains can typically be lifted with a gentle spot-cleaning approach, and extreme measures like polishing or sealing are rarely necessary. Most importantly, treating your LVT with a little respect—like avoiding drenching mops or steam cleaners—helps you preserve its vibrant, realistic appearance for years.
So, if you’re ready to enjoy a space that’s both stylish and low-maintenance, LVT could be your perfect match. And if you need custom solutions or have specific questions about your particular setup, don’t hesitate to reach out to Kinwin for a personalized quote and professional guidance. Our team is dedicated to providing high-quality flooring solutions that marry functionality with style. Take the next step toward floors that look brand new—even years down the road!